
81 Users Online
![]() Attach
|
Attach
|
![]() Edit
|
Edit
|
![]() Revisions
Revisions
![]() Related Content
Related Content
The H&K MP5 is a reliable and popular gun used by many enforcement agencies in various countries, thereby increasing the appearance in movies and TV shows. Hence, it is also a popular airsoft gun. However, the H&K MP5 is designed and manufactured in the 1960's, when tactical rails haven't been standardized. Also, back then, there are very few firearm accessories that could be useful on a gun.
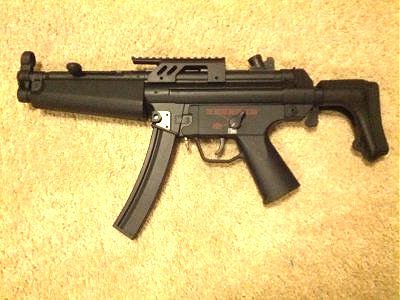
Today, we have numerous technology that can be mounted onto standard Picatinny weaver rails. Without rails on the MP5, it's difficult to mount these new gadgets. This article provides instructions to adding a rail to your MP5 handguard and ideas for other possibilities.
Cross-Reference
If you have a silenced-MP5, see our article on "Adding Rails to a Mock Silencer". It provides another mean to add rails to the round silenced-MP5 handguard.
We wanted to turn the normal MP5 handguard into a Rail Integration System (RIS), similar to the quad-rail RIS on a M4. At a minimum we wanted a bottom rail and two side rails to help us attach accessories.
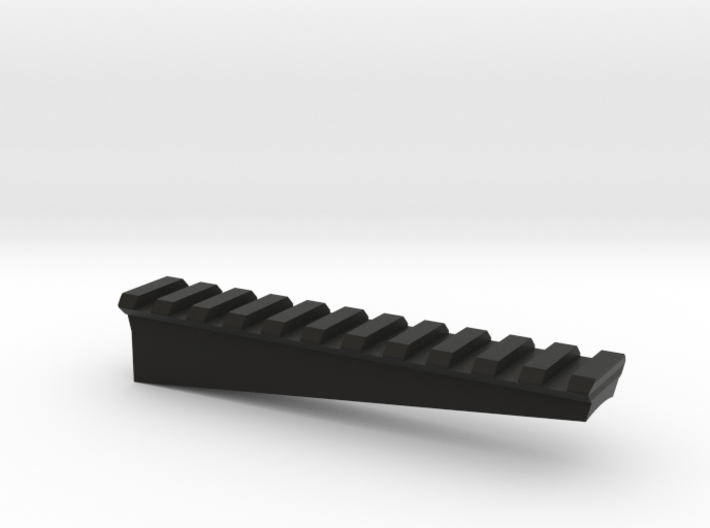
There aren't many options for mounting a Picatinny rail to the bottom of the MP5 handguard, because it is sloped upward. Any regular Picatinny rail would cause the accessory to point upward. Luckily, Airsoft3D has a Picatinny rail that is made specifically for the MP5 handguard, which accounts for the upward slant (see model below). We ordered the white plastic version, which is the most inexpensive option, because we are going to paint it anyway.
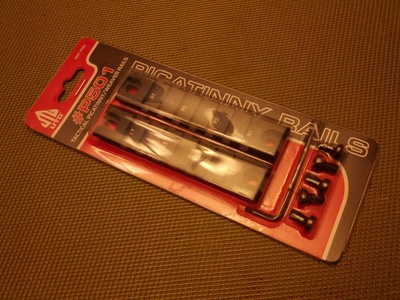
There are many different off-the-shelf rails that you can use for the side rails. For the side rails, we decided to go with the UTG MNT-P501 Handguard Picatinny Rail (see "Related Links" below). It comes in set of two rails, one for the left side and one for the right side. The photo below shows the packaging for the rails.
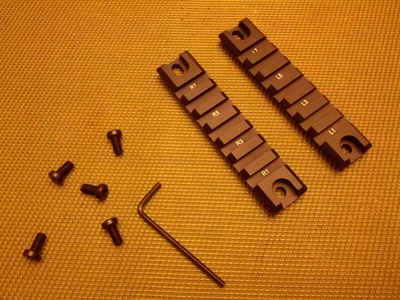
The UTG MNT-P501 Picatinny Rail is just long enough to cover the flat part of the MP5 handguard, but not long enough to overshoot the handguard. It is made out of metal and, therefore, more durable than plastic. It comes with five hex screws (four screws are needed to mount the two rails. A hex wrench is included for the screws (see photo below).
For the purpose of this article, we are going to mount the Airsoft3D MP5 Handguard Picatinny Rail to the JG M5-A5 MP5. The JG M5-A5 MP5 is a competitive airsoft gun where the external is also made out of plastic. We will mount the rail to the bottom or the plastic handguard.
First thing to do is to test fit the rail on the handguard. The photo below shows our ideal position of the bottom rail on the handguard. Depending on the handguard and your application, you may want to test fit multiple locations.
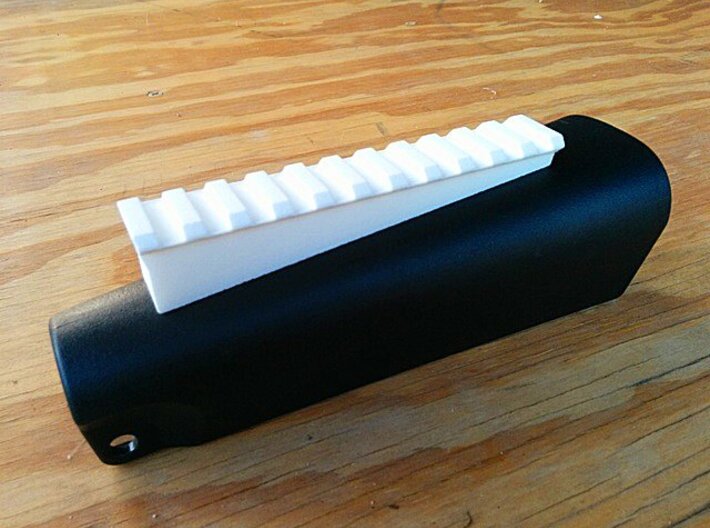
The airsoft battery pack is located in the MP5 handguard. It's already an extremely tight space, so using screws to attach the bottom rail to the handguard is out of the question (at least for us).
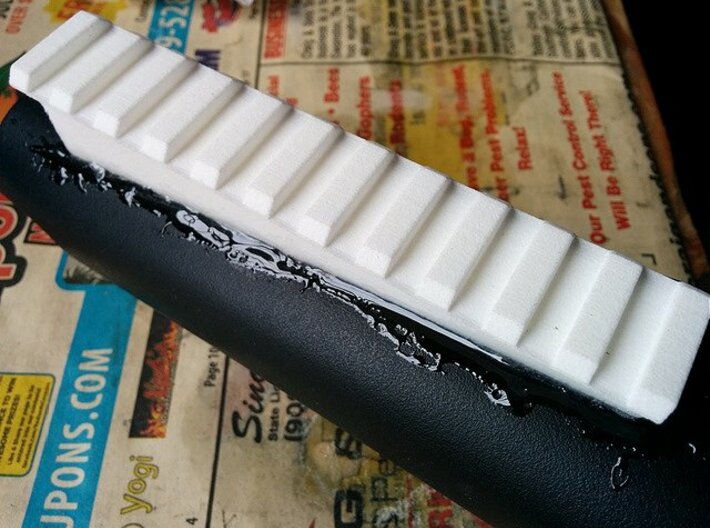
Once you know the ideal location for the rail, it's time to get the epoxy or other strong adhesive out of your toolbox. Mix the adhesive per instruction for the adhesive and apply it to the rail and the handguard. Combine the two and let it sit to dry.
I used Loctite Stik 'n Seal Adhesive to bind the rail onto the handguard. This adhesive is strong and has the ability to fill the gap. A C-clamp kept the two pieces in place. This Loctite does take a day or two to dry when used in an abundance. But once it's dried, I used a general 5 minute epoxy to seal the edges (see photo below).
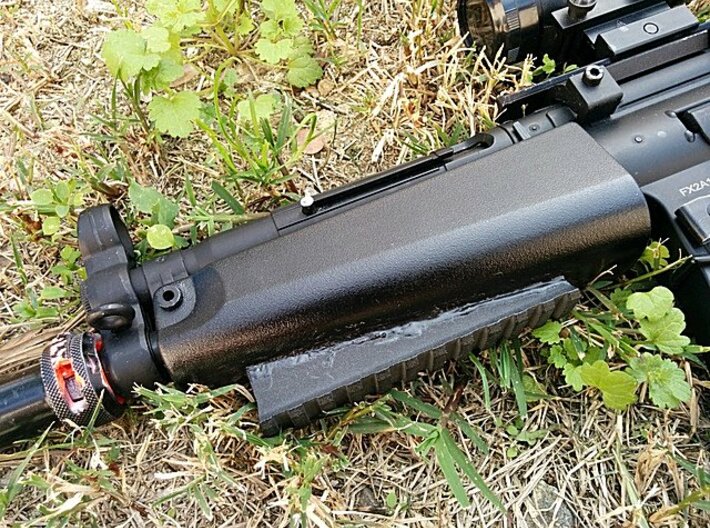
After the adhesive has dried, I spray painted it in black. The photo below shows the finished handguard on the gun.
For the purpose of this article, we are going to mount the side rails to the Cyma CM.023 MP5 airsoft gun. The Cyma CM.023 MP5 is a low power electronic gun (LPEG) and is made completely out of plastic. We will mount the rails to the plastic handguard.
First thing to do is to test fit the rail on the gun. The photo below shows our ideal position of the side rail on the handguard. Depending on the gun, the rail, and your application, you may want to test fit multiple locations.
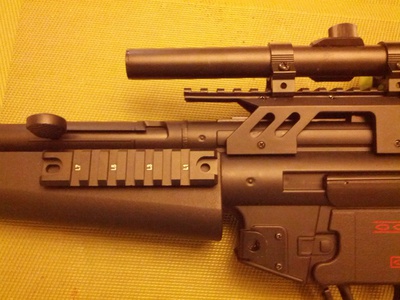
Once you find the ideal spot, make a mark to drill the hole. The smallest drill bit can help you make a mark and an indention on the plastic handguard. You may need a punch for harder surfaces, like a metal handguard. Once you've made a hole big enough for the screw, tap the thread using the screw itself (see photo below). On metal handguards, you'll need to use hex nuts, rather than tapping the metal hole.
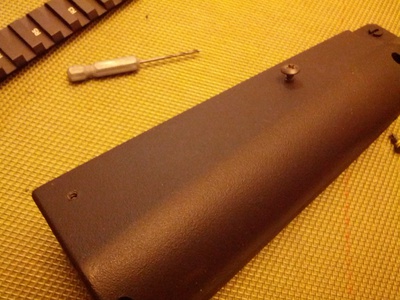
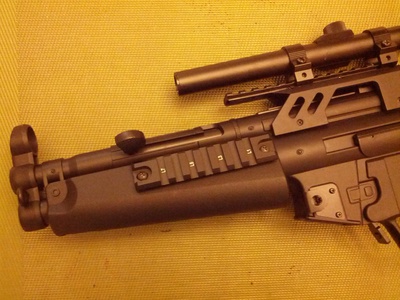
When you are done tapping the hole, remove the screw and install the rail with the screws. You can make precise alignments, then fasten it down. The photo below shows the rail installed on the handguard.
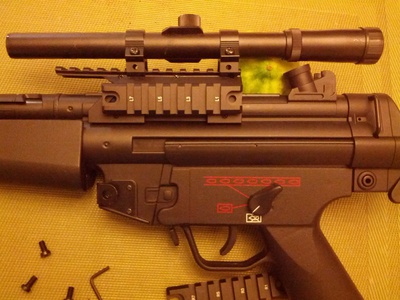
Another idea for the side rail placement is on the rail riser (see photo below). The Cyma CM.023 comes with a top rail raiser for the MP5. It's a fairly standard top rail. You an add two more rails to both side of the raiser to make it a tri-rail system.
![]() Attach
|
Attach
|
![]() Edit
|
Edit
|
![]() Revisions
Revisions
![]() Related Content
Related Content