
235 Users Online
![]() Attach
|
Attach
|
![]() Edit
|
Edit
|
![]() Revisions
Revisions
![]() Related Content
Related Content
With the tremendous amount of Picatinny accessory on the market today, it's relatively easy to add technology to your airsoft gun. Attaching accessories to your airsoft gun is also a quick and easy way to give your gun an unique look among a field of airsoft guns.
The M4 with a quad-rail provides lots of attachment real estate for attaching accessories. But if you have an MP5 or a pistol, you may not have any Picatinny rails. This article provides instruction to attach metal Picatinny and/or Weaver rails to your mock silencer to create attachment space.
Cross-Reference
If you have a MP5, check out our "Adding Rails to MP5 Handguard" article.
The mock silencer is generally a round barrel. Unless you get some science fiction mock silencers that are square, you can't just attach Picatinny rails to them. That is because most Picatinny rails have a flat bottom for attaching to flat surfaces.
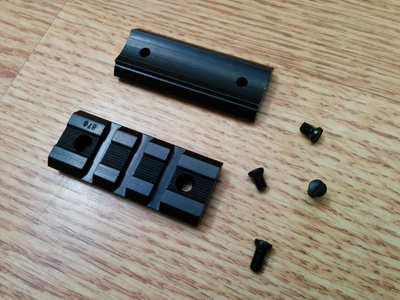
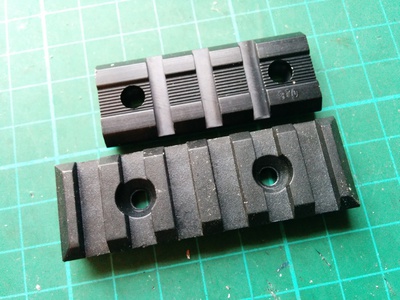
Luckily, we found the Weaver 48346 Aluminum Base Pair at the local Walmart. This Weaver rail is meant for to fit Remington 870 with drilled and tapped receiver and is available from Amazon (see "Related Links" below). This weaver rail set (comes in two) has a curved bottom (see photo below), which is perfect for round surfaces, like a mock silencer.

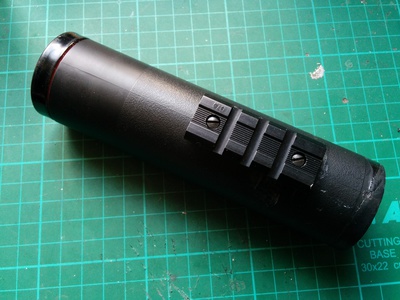
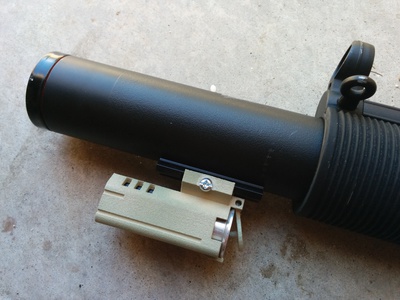
Photo below shows the Weaver rail's curved bottom conforms to the silenced-MP5 mock silencer nicely.

It turns out that this curved bottom Weaver rail also conforms to the silenced-MP5 handguard as well (see photo below). So you can use the technique in this article to mount Weaver rails to a silenced-MP5 handguard.
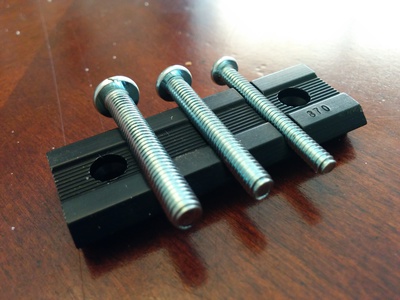
Weaver rails have narrower slots compared to the Picatinny rail. Photo below shows that the #6 screw is sized just right for the Weaver rail. If you have Picatinny accessories that have bigger screws, you may need to replace them with #6 screws.
Cross-Reference
Want to know the difference between Weaver rail and Picatinny rail? See our "Weaver Rail vs. Picatinny Rail vs. NATO Accessory Rail" article.
After assembling the parts you need, you'll also need a set of tools to help you fasten the rails to the mock silencer. Here is a list of tools you need:
The rails attach via screws, so you will need the drill and drill bit to drill the holes on the mock silencer to attach the rails. A punch will be necessary on metal mock silencer to set the drilling location.
The Weaver rail comes with small flat head screws. You'll need a small flat head screw driver to fasten the rails onto the mock silencer.
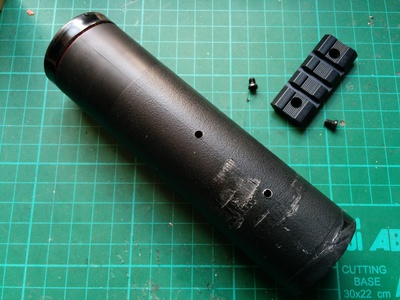
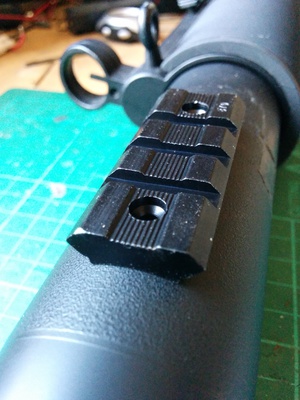
Place the Weaver rail on the mock silencer, where you want it attached. Use the punch to make the drilling mark. Then use the drill and drill bit to make the holes (see photo below). The holes should be just a tad smaller than the screw thread.
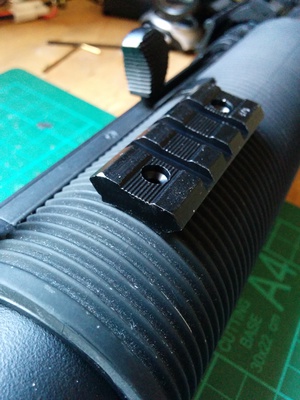
With the flat head screw driver, screw the screws into the mock silencer (see photo below).
The mock silencer we used is a plastic one, therefore, the screws tapped the thread as we screwed it down. On a metal mock silencer, depending on the material type of the mock silencer and the material type of the screws, you may or may not be able to tap the mock silencer in this manner. Most of the time, the metal screw comprises of harder metal than the aluminum mock silencer, so you can tap with the screw itself. But if your screws are softer, then you'll have to get a tap set.
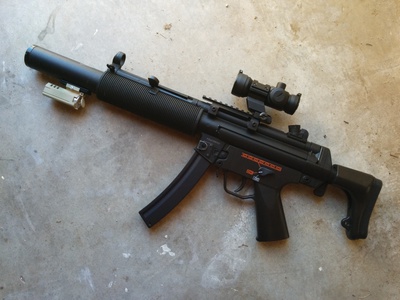
Once you have the Weaver rails fastened to the mock silencer, you can now attach all sorts of accessories, such as laser sight, tactical flashlight, etc. In our example, we are going to mount the Airsoft3D Helio M726-G Underbarrel Shotgun. Photo below shows the underbarrel shotgun mounted to the mock silencer.

The photo below what the silenced-MP5 looks like with a Weaver rail attached to the mock silencer and the Helio M726-G attached to it.
You can mount rails all around the mock silencer to mount even more accessories to your airsoft gun.
![]() Attach
|
Attach
|
![]() Edit
|
Edit
|
![]() Revisions
Revisions
![]() Related Content
Related Content

Fun for Photographers
Get Our

Memecoins!


